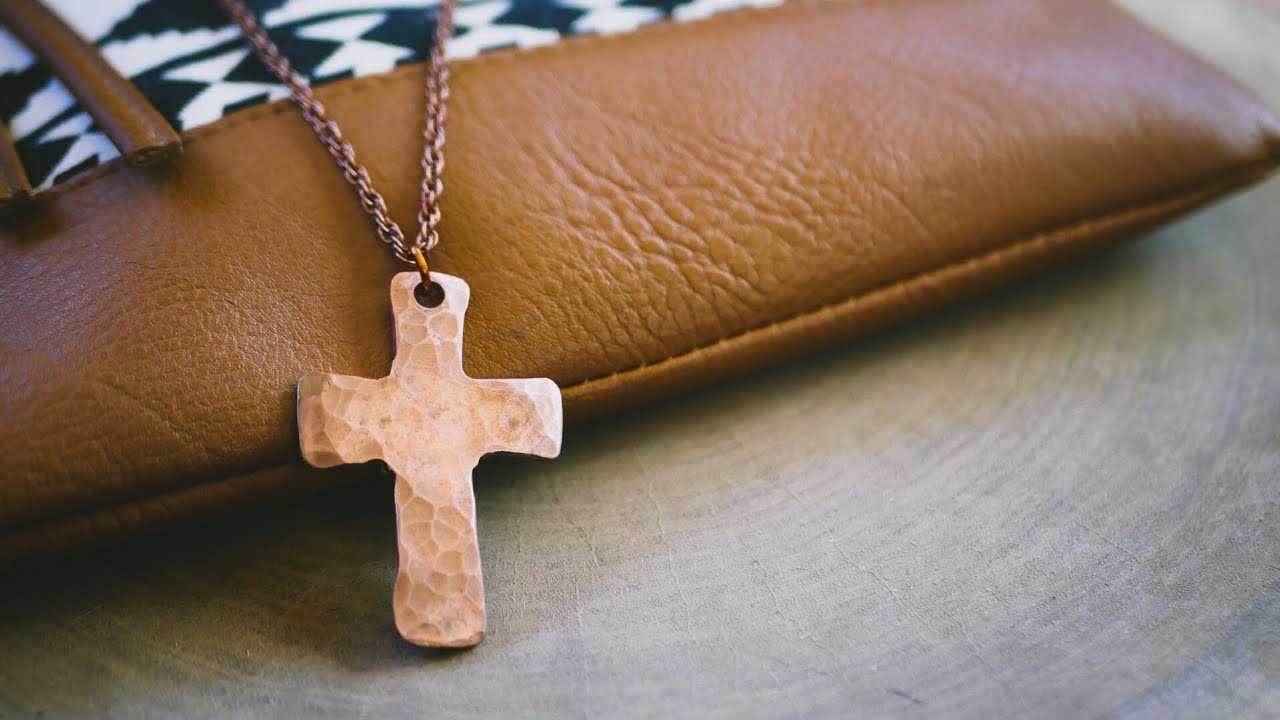
Creating your own double cross necklace can be an immensely satisfying and empowering experience, allowing you to infuse your personal touch into a timeless piece of jewelry. In this comprehensive guide, we’ll delve deeper into each step of the process, offering additional tips and insights to help you craft a truly unique and meaningful necklace.

Materials You’ll Need:
Let’s start by ensuring you have all the necessary materials at your disposal:
- Cross Pendants: Choose two cross pendants that resonate with you. Consider exploring various styles, materials, and sizes to find the perfect pair.
- Chain: Select a chain that complements your cross pendants. You can opt for a delicate or bold chain, depending on your preference.
- Jump Rings: These small metal rings will be used to attach the cross pendants to the chain. Make sure you have enough for your project.
- Lobster Clasp: This clasp will provide a secure closure for your necklace. Choose one that matches the style and color of your chain.
- Pliers: You’ll need both flat-nose and round-nose pliers for opening and closing jump rings and manipulating wire.
Also Read: Top Watches for every Stylish Woman
Step 1: Choose Your Cross Pendants
When selecting your cross pendants, take your time to find pieces that hold personal significance to you. Consider the symbolism behind different cross designs and choose ones that resonate with your beliefs or values. Whether you prefer a simple and understated cross or a more intricate and ornate design, let your intuition guide your decision.
Step 2: Prepare the Chain
Before assembling your necklace, determine the desired length of your chain and cut it accordingly using the flat-nose pliers. Keep in mind factors such as neckline and personal preference when determining the length. Once cut, use the pliers to attach a jump ring to each end of the chain.
Step 3: Attach the Cross Pendants
Now it’s time to attach the cross pendants to the chain. Open a jump ring using the flat-nose pliers, slide it through the loop or bail of one of the cross pendants, and then attach it to one end of the chain. Repeat this process for the second pendant, ensuring they are evenly spaced along the chain.
Step 4: Add the Clasp
To complete your necklace, attach the lobster clasp to one end of the chain using a jump ring. Make sure the clasp is securely fastened to prevent it from coming loose while wearing the necklace. Once attached, your necklace is now ready to be worn and enjoyed.
Step 5: Personalize Your Necklace (Optional)
If you’re feeling creative, consider adding personalized touches to your necklace to make it truly one-of-a-kind. You could incorporate additional charms, beads, or gemstones that hold special meaning to you, or experiment with different chain styles and lengths for a unique look.
Step 6: Wear and Share Your Creation
Once your DIY double cross necklace is complete, take a moment to admire your handiwork. Whether you choose to wear it yourself as a daily reminder of your faith or give it as a heartfelt gift to a loved one, your custom piece of jewelry is sure to be treasured for years to come.
Also Read: Best Gold Watches You Can Buy
Designing and crafting your own double cross necklace is a wonderful way to express your creativity and individuality. By following these step-by-step instructions and infusing your personal style into every detail, you can create a stunning piece of jewelry that reflects your unique personality and beliefs.
Whether you’re a seasoned jewelry maker or trying your hand at DIY for the first time, the process of creating a custom necklace is both fulfilling and rewarding. So gather your materials, unleash your creativity, and embark on the journey of making your own double cross necklace today!
This detailed guide provides readers with the knowledge and inspiration they need to embark on their own DIY jewelry-making adventure, empowering them to create beautiful and meaningful pieces that reflect their personal style and beliefs.
Leave a Reply